Physical Address
304 North Cardinal St.
Dorchester Center, MA 02124

Running a headless (terminal only) server is great and all but sometimes a GUI helps. We’ll be installing GNOME 3.28 on CentOS 7.4. This comes really handy when you want to remotely administer a server and keep the bloat to an absolute minimum.
Start off by issuing the following at shell:
yum groupinstall "Server with GUI"
Note: On a minimal installation of CentOS this will add close to a thousand packages
Moving forward, we’ll be installing TigetVNC so we would be able to access the GUI remotely. With TigerVNC you get a high performance, platform-independent, server application that enables you to access GUIs on remote machines.
Start by installing TigerVNC
yum install tigervnc-server
You need to perform the following tasks by a user. If you don’t have any user then issue the following while logged in as root to create a new user and set a password for it:
useradd user1
passwd user1
You may or may not give this user sudo privileges. To grant sudo privileges, issue the following command:
usermod -aG wheel user1
Login to the new user and issue the following:
vncpasswd
Set the password and copy the following file into place, you will need to log back into the root user if you haven’t given the new user sudo privileges for the following commands:
sudo cp /lib/systemd/system/vncserver@.service /etc/systemd/system/vncserver@:1.service
Note: For every subsequent VNC entry for a user you will increment the name of the file by 1 (e.g. a different user would get vncserver@:2.service and so on)
Edit the new file:
sudo vi /etc/systemd/system/vncserver@:1.service
Replace the user with the new user you created:
[Unit]
Description=Remote desktop service (VNC)
After=syslog.target network.target

[Service]
Type=forking

# Clean any existing files in /tmp/.X11-unix environment
ExecStartPre=/bin/sh -c '/usr/bin/vncserver -kill %i > /dev/null 2>&1 || :'
ExecStart=/usr/sbin/runuser -l <USER> -c "/usr/bin/vncserver %i"
PIDFile=/home/<USER>/.vnc/%H%i.pid
ExecStop=/bin/sh -c '/usr/bin/vncserver -kill %i > /dev/null 2>&1 || :'

[Install]
WantedBy=multi-user.target
Issue the following at a shell prompt
systemctl daemon-reload
systemctl start vncserver@:1
systemctl enable vncserver@:1 #Adds the service to startup
Verify that vncserver started for your user:
systemctl status vncserver@:1
You should see something like the following in the message that is returned:
Active: active (running)
Next step is to connect to the VNC server but first, you need to download a VNC client, download VNCViewer from here
https://www.realvnc.com/en/connect/download/viewer/
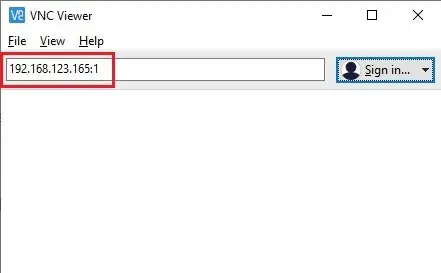
Install it, launch it, then enter your IP address followed by the integer you placed in the VNC config file:
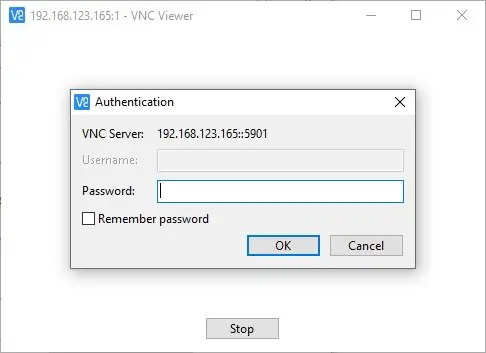
The first time you connect to a new client / host you’ll get an error about an insecure connection, proceed:
After successfully authenticating you should be logged in and be greeted by a screen similar to the one below:
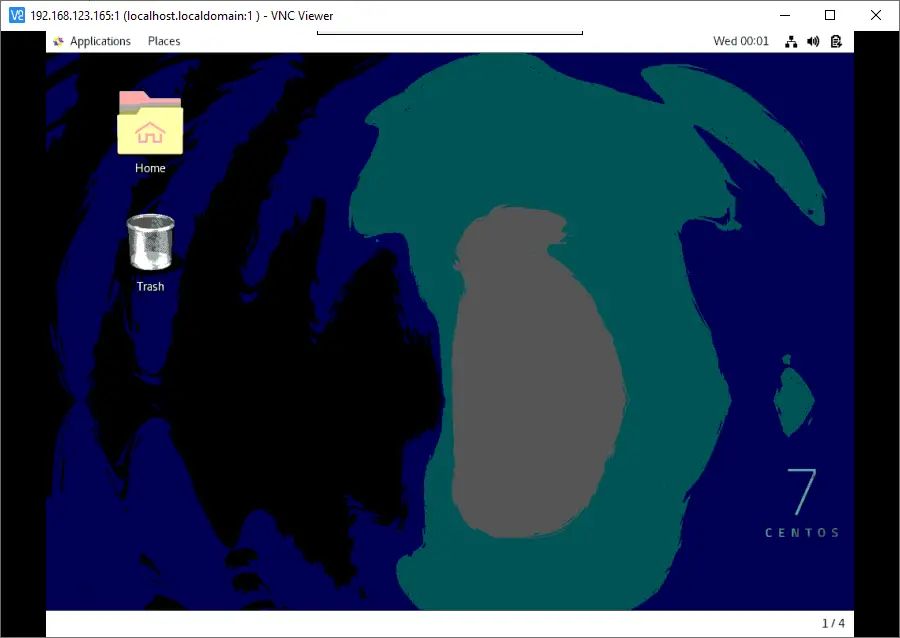
That’s it, you’re done!
